Tuesday, 31 January 2012

Library Modes

One thing that occasionally foxes people are the library modes. You may not ever have discovered them, but they can be disconcerting if you ever accidentally switch to one or other of them.

There are three library modes, and which you are in is controlled by the buttons to the top left of the user interface.
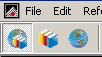
The one to the left puts Endnote into Integrated Library and Online Search Mode. This is the normal mode of operation.

The middle button puts Endnote into Local Library mode. There are no online search options in this mode, although you can import, find full text and direct download references into your library; you just cannot do a search from Endnote to a library.

The rightmost button puts endnote into Online Search Mode. Here, all you can do is search online, via Endnote. Any items you download are held in a temporary library and are discarded when you close, or switch modes. If you want to keep them, you will have to open another Endnote library and copy your items across.

I suppose the next question is ‘why have these modes?’

I think the answer is that in some circumstances, for example using Endnote as a medical librarian, you may get many, many references, particularly if your search is not terribly sophisticated. The online search mode operates as a filtering place for these references, allowing you to select only the references you are actually interested in.

But for most of us, Integrated Library and Online Search Mode is all we need.

Tuesday, 24 January 2012

Endnote and Travelling Libraries

I occasionally get asked about send Word documents with Endnote references to other people without Endnote.

This does work.

The reason it works is because the Word document carries with it what is called a ‘travelling library’, Essentially, Word packs all the information that Endnote gives it up into the document. Someone without Endnote reading the document does not see all the Endnote bits, but does see the references correctly formatted.

Now, as you may well already know, nothing is quite that simple, and occasionally things do go wrong. Also, if you are asked to submit plain text, you need to remove all the Endnote related bits of processing that go on to render the formatting of references.

You might know that Endnote inserts its information through things called ‘field codes’.

To remove the field codes, make sure you work on the final final copy of your manuscript. It is also advisable to make a back up copy of that.

To remove the field codes, use Control-A to select the whole document.

Then, hold down the control and shift keys and press F9. The field codes will be removed.

Your references and bibliography are now plain text.

Any modifications will need to be done in the original, and the same procedure followed.


Tuesday, 17 January 2012

Sharing Groups in Endnote Web

Endnote web allows you to share particular groups of references with other people.

For example, you could share a group with a seminar group of students, or with colleagues, or with the members of a paper reading club.

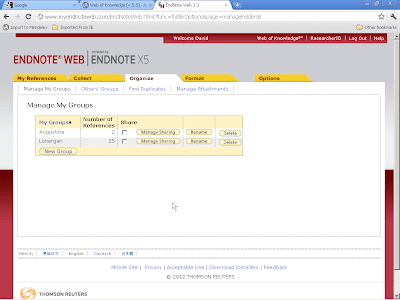
To set up a shared group, go to the Organise Tab of Endnote Web and choose the Manage My Groups link.

Your groups are listed. Click on the ‘Manage Sharing’ button for the relevant group. This gives a summary sheet of who the group is shared with.

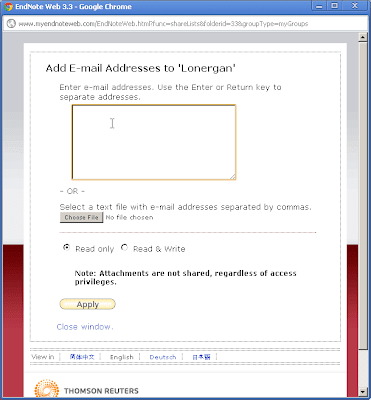
Click on Start Sharing this Group.

The following dialog box is displayed. Enter the email addresses of the people you want to share the group with in the text box and click on Apply. You can permit others to add references to the group by clicking on the ‘Read & Write’ radio button.

Your group will be shared, and the others can access it from their ‘Other’s Groups’ link on the Organise tab.


Tuesday, 10 January 2012

Changing Case

There is a little problem with changing the case automatically in a style.

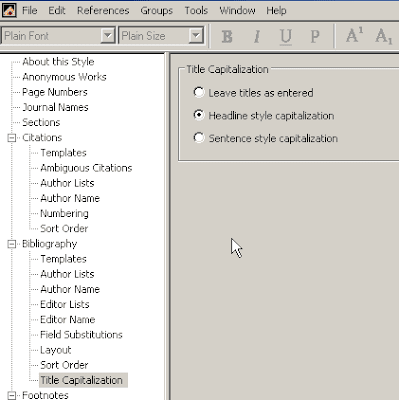
As you probably know, you can set a style up to automatically change the case of a title. This is done from the Title Capitalisation bit of the Bibliography area of the edit style dialog.


The problem is that using this sort of style means that some parts of a title might well be rendered incorrectly.


Here, the title should be (of course) Henry VIII.

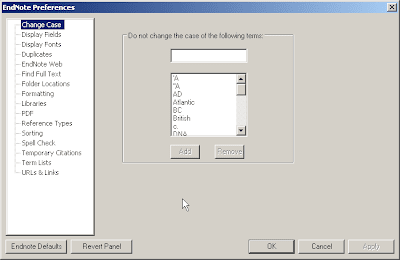
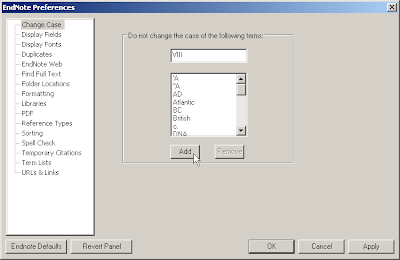
The fix for this is to be found in the Edit | Preferences dialog.


The top entry is ‘Change Case’ which is for exactly this problem. Enter your item not to be changed in the text box, and click on ‘Add’.

Click on ‘Apply’ and then ‘OK’. Your title should now look more sensible.


Tuesday, 3 January 2012

Complex Authors

Sometimes, an author is more complex than a single person with a surname and forenames. For example, the author could be listed as ‘The Bank of England’ or ‘Temper Longman III’.

If you type these directly into an Endnote reference, you can get some interesting effects. For example:

Gives a reference that looks like this:

This can be solved using a comma at the end of the author name:

With a comma at the end of the corporate name, the author will be rendered correctly.

In a similar way, commas are important for single authors with complex names. For example:

is not rendered correctly....

Putting the name in the author field as last name, first name, appellation enables Endnote to render it correctly.

Again, the location of the commas is important.


Tuesday, 27 December 2011

Endnote Web and Word

As you would expect, Endnote Web integrates with Microsoft Word. You can, in fact, switch between the two.

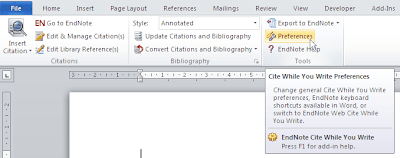
In Word 2010 (and, indeed, Word 2007; Word 2003 inevitably works a little differently), switching between the two is done from the Endnote tab. Click on Preferences.


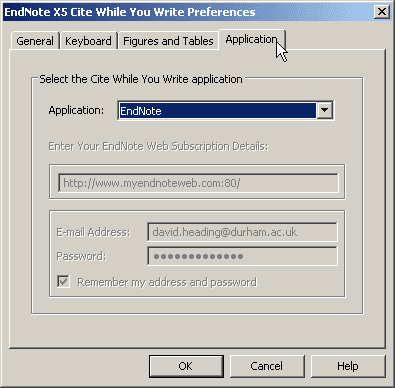
The Cite While You Writer Preferences dialog box will open. Click on the Application tab.

On this tab, choose Endnote Web from the drop down box and, if necessary, fill in your subscription details.

Click OK. You will need to select a style from the drop down list, and then use ‘Find Citations’ to enter a reference.

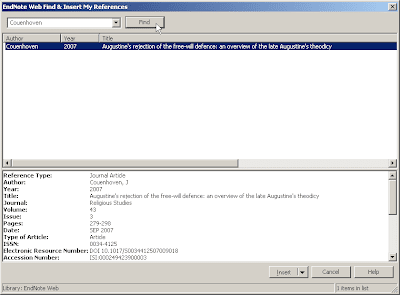
Enter the item you need to insert in the drop down box and click Find. All the possibilities will be displayed in the central text box (in the above case there is only one). Select the correct entry and click Insert.

The reference will be inserted into your document.


Tuesday, 20 December 2011

Downloading from Firstsearch Databases

If you conduct a search on a database run by Firstsearch (e.g. ERIC or ArticleFirst), you might have hit a snag.

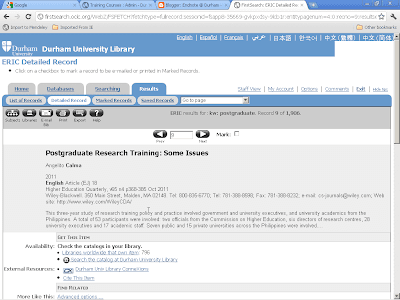
Suppose we have run a search on ERIC and this is the result:


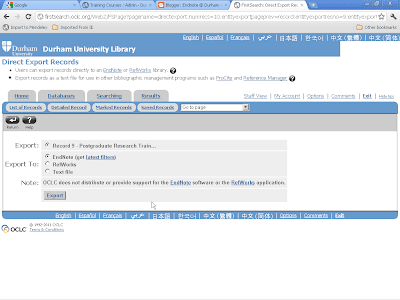
To export the bibliographic information into Endnote, click on the ‘Export’ button.

Select Endnote from the options and click Export.

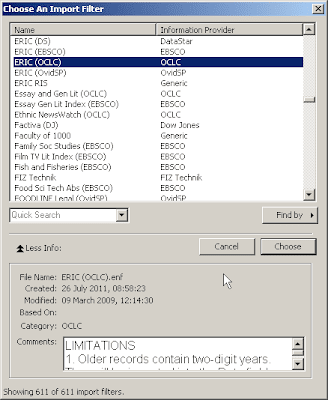
Endnote will then show the Import Filter Selection Dialog:

You need to select the appropriate filter for the database. In this case the name is ERIC with OCLC as the Information Provider.

Click on Choose and the record you require will be imported.